Preparation
If any existing tile needs to be removed, we carefully remove the old tile first. If working in a bathroom, we ensure there isa waterproof backer board between the tile and the wall. Lastly, we start by creating a perfectly level reference line for our tiles.
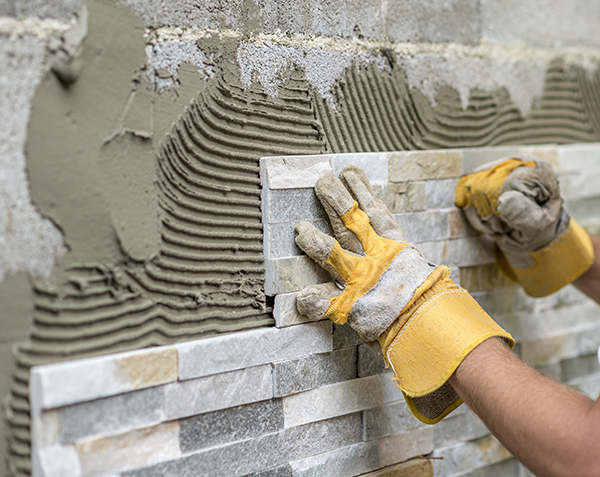
Installation
Tile adhesive is applied to the wall with a notched trowel, creating ridges for better adhesion. Then the tiles are placed into the adhesive, ensuring a perfectly straight line. Spacers are used so there is an appropriate gap for the grout. Tiles are cut to size when it comes to corners and other edges.
Grouting
After the adhesive has fully cured, the spacers are removed and the grouting mixture is applied to all the gaps. Excess grout is removed using a damp sponge, ensuring a clean and smooth finish. Once the grout is dry, a grout sealer is applied to protect it against moisture and staining.


 (1)")
")